Transcription
How to add subtitles to Udemy courses and increase engagement
1 Aug 2022
6 minute read
The global eLearning market has tremendously grown in recent years, and it is projected to continue in the future. More institutions are utilizing the internet through eLearning platforms like Udemy to disseminate knowledge and teach new skills to millions of people from all over the world.
This means that there are numerous resources made available every day by different educators. This makes it hard for your content to stand out, especially if it’s similar to everything else available online. That’s where captions and subtitles come in! Your online video viewing can go up by as much as 40% by simply adding subtitles.
What is Udemy?
Udemy utilizes online video courses to make the learning experience as immersive and interactive as possible. They also publish new videos in their libraries every month, meaning that the modules are up-to-date.

What are Subtitles and Captions?
Most people use the terms subtitles and captions interchangeably. Even though both captions and subtitles are the text version of the spoken audio in a video, there is a distinction between the two. Subtitles often involve translating the video’s language into an alternative language. On the other hand, captions are usually in the same language as spoken in a video.
When included, subtitles allow people to watch your video even if they don’t speak the native language in the video. This makes your online learning videos accessible to a larger (international) audience. Captions help hard-of-hearing students to comprehend and experience the video. This is because captions include background noises and speaker changes.
What Are the Benefits of Adding Subtitles to Udemy Courses?
Adding subtitles to your Udemy Courses is more than just functional. Captions and subtitles have been proven to significantly improve engagement and boost the performance of your eLearning videos. Here are some ways that your online learning videos will benefit from adding subtitles and closed captions:
Better User Experience
Sometimes your students find themselves in situations where they need to watch your videos when muted. This could be because they are in a library or sharing a workspace and don’t have headphones, or they are simply in a noisy environment and can’t clearly listen to the audio. Whatever the case, learning doesn’t need to stop.
When you add subtitles to Udemy, your learners can take notes, get exact spellings of words spoken and continue the learning process regardless of whether the audio is on or not.
Increases Video Accessibility
Your Udemy learning videos are more inclusive with captions. It makes it possible for individuals with hearing impairment to enjoy your content. Inclusive videos also help widen your user base. You could miss out on millions of learners around the world by not adding captions and subtitles to your videos.
In 1990, the American Disability Act (ADA) – a law to accommodate persons living with disabilities – was passed. Public and private institutions must offer captioning to support deaf or hard-of-hearing individuals to be ADA compliant. Ensure that the captions are not just a summary of the audio. For all your users to enjoy the exact experience as those watching with audio, you should caption every word and sound in the video.
Improves Information Retention
Sometimes a lot is going on from audio to visuals, such as several voices talking at once or construction noises in the background. Perhaps you are using a lot of technical terms, or your students hear a homonym and get confused. Whatever the case, viewing whatever the speaker is saying on screen dispels any confusion and distraction.
When creating an eLearning module, you want your learners to trust your material. This is possible only when there are no comprehension problems. Captions not only improve comprehension but also information retention. Research shows that adults are more likely to remember technical terms when videos include subtitles or captions. Eventually, learners will choose your eLearning modules over competitors’.
Optimize for Search Engine Algorithms
Adding subtitles can improve your SEO (Search Engine Optimization) and boost the reach of your eLearning materials. Search engines such as Google can crawl through your eLearning materials if they have captions or subtitles included. The search engines will then display your videos to the relevant audiences.
Remember that subtitles and captions are tools to improve your video experience. This means that you should not use them to stuff keywords and irrelevant information which will create a poor experience for your audience.

How to Add Subtitles and Captions with Amberscript?
By now you have realized how including subtitles and captions can improve your videos and are considering it. Udemy has auto-generated captions available in English, Spanish, and Portuguese. However, this is rarely accurate meaning that you might have to upload your own subtitle files.
You work hard to create your eLearning modules, meaning that your students should get the correct captions with exactly what you are saying. Well, you will first need to create a file with accurate timestamps and subtitles that you can upload to Udemy.
Seems too complex? Well, adding captions to your Udemy courses is easier than you might think thanks to Amberscript. Instead of sitting for hours subtitling your videos, you can let us do that for you. You can concentrate on making amazing eLearning modules while sure that you will have accurate subtitles with minimal time and effort.
Here is how to add captions and subtitles to your Udemy videos with the help of Amberscript.

Got a large volume of audio and
video to turn into text and subtitles?
- High accurate, on demand service
- Competitive pricing with the fastest turnaround using AI
- Upload, search edit and export with ease.
1. Record your Course
The first step is to create the learning material by recording the video of the course. Use a neutral accent and record the video in a quiet environment. This not only gives your audience a great experience but also makes it easier to accurately caption your video.
2. Upload Video to Amberscript
Once the video is ready, you then upload it to Amberscript in just a few clicks. Amberscript supports multiple video formats.
3. Choose Automatic or Human-made Subtitles
We offer two options to generate your Udemy course subtitles. You can either opt for our automatic subtitle service or our human-made (manual) subtitles service.
Automatic Subtitles:
Once you upload your video, our speech recognition engine creates the first version of your captions. This has been proven to save up to 10x the time that it would take you to caption it yourself. Automatic subtitles are a fast and budget-friendly way to generate your Udemy course subtitles.
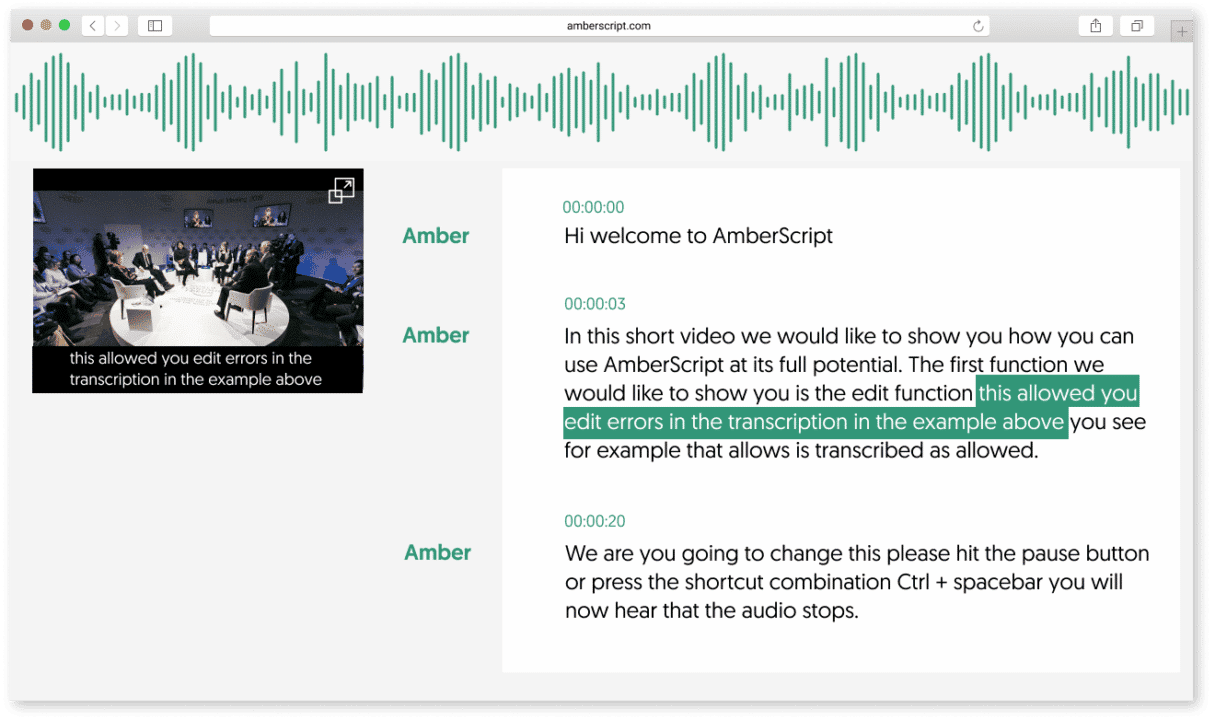
Our AI and speech recognition software is extremely accurate and you can expect the captions to be on point. However, even machines sometimes make small errors from time to time. You can fix any spelling errors for proper nouns or adjust the timestamps using our online editor.
Human-made (Manual) Subtitles:
For more technical videos, we recommend using our manual subtitles service. Although it takes a bit longer compared to automatic subtitles, it offers up to 100% accuracy. With manual subtitles, one of our language experts will perfect and quality check your captions before delivering your subtitle files. We also offer translation services to help you reach a wider audience.
4. Export Your File in .vtt
Once you’ve finalized your captions, Amberscript generates a caption file for you to download. There are several format options to choose from, but for Udemy the best file format is .vtt.
5. Upload to Udemy
Once you have downloaded the caption file, you can then upload it to Udemy in a few easy steps. You can follow the specific up-to-date guidelines highlighted here to add the subtitles to your eLearning videos.
About Amberscript
We combine the best talents in technology, language, and science to create the most accurate speech-to-text tool. We also ensure lightning-fast service without compromising on the quality of your subtitles. Consider us the solution that you can count on when it matters most.
We understand that creating online learning videos is time-consuming and prioritizing captions and subtitles can feel like a tedious task. Amberscript allows you to focus on making your eLearning modules while you get accurate captions for the same at an affordable price. Try it out today, and you will see that it is definitely worth every penny.