Transcription
Step-by-Step Tutorial: Add Subtitles to Your Videos with Amberscript
25 Jan 2024
8 minute read
In the world of video production, subtitles have become a crucial component, significantly enhancing accessibility and comprehension. They help in gaining a wider audience by eliminating language barriers and assisting those with hearing impairments. With the increasingly global reach of digital content, the importance of subtitles cannot be overstated.
Turning our attention to Amberscript, it is a robust online subtitle editor that is designed to simplify adding subtitles to your videos. This powerful tool brings to your fingertips a range of capabilities, including auto-transcription, manual editing, and exporting in various subtitle formats. The interface is user-friendly, and the features are intuitive, making it an excellent choice for both professionals and beginners in video production.
Some of the notable benefits of using Amberscript’s subtitle editor include:
- Accurate and fast transcription, thus saving time.
- Process simplification of adding subtitles, making it less daunting.
- Multiple languages, making your content accessible to a global audience.
- Flexibility to manually edit and time the subtitles, ensuring they match the video perfectly.
With all these features at your disposal, making the most of your video content becomes a seamless experience with Amberscript’s subtitle editor.
Table of contents
Understanding the Role of Subtitles in Video Production
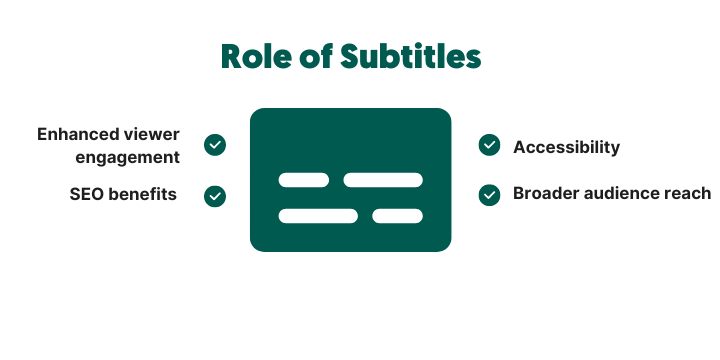
Subtitles serve a multi-faceted role in video production, contributing not just to accessibility but also to broader audience reach and viewer engagement.
- Accessibility: Subtitles are the cornerstone of creating accessible content. They empower those with hearing impairments to consume visual media, thus ensuring that your video is inclusive and reaches a more diverse audience.
- Broader Audience Reach: Subtitles cater to non-native speakers, allowing them to understand and enjoy your content. This significantly widens your audience spectrum, especially in a digital world where geographical boundaries become blurrier each day.
- Enhanced Viewer Engagement: Subtitles demand attention. They keep the viewer engaged by compelling them to read along while watching, which significantly enhances message retention and comprehension. They also offer a lifeline during noisy environments or situations where audio is not viable.
- SEO Benefits: Here’s an often overlooked advantage of subtitles – they’re SEO gold. Search engines can’t watch videos, but they can read text. With subtitles, you’re essentially feeding search engines with additional text about your video content. This can enhance your video’s visibility online and drive more traffic to your site.
Understanding these roles that subtitles play can help video creators better appreciate the subtitles of their craft, and leverage subtitle tools like Amberscript effectively.
Preparing Your Video for Subtitling
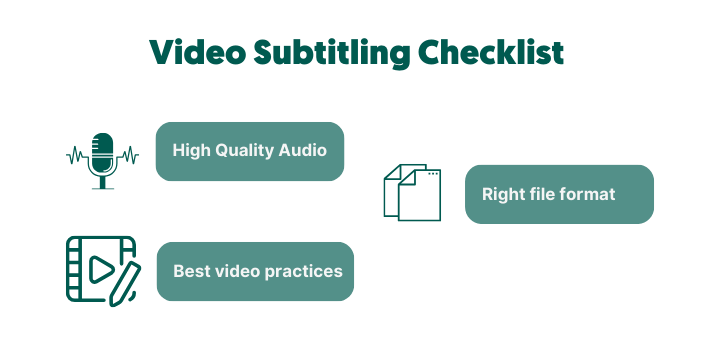
Before you start utilizing the features of Amberscript’s subtitle editor, there are certain pre-subtitling preparations to adhere to. These are quintessential in ensuring an efficient subtitling process and high-quality results.
- Ensuring High-Quality Audio: The transcription quality is directly proportional to the audio quality of your video. Ensure that your audio is clear and free of background noise. Use a good quality microphone while recording and consider investing in professional audio editing software to enhance the sound quality in post-production.
- Choosing the Right File Format: Amberscript supports a variety of video file formats. However, it’s best to choose high-quality formats like MP4, MOV, or AVI for optimal performance. These formats are widely supported and known for preserving video quality.
- Video Editing Best Practices: Consider these video editing practices to complement your subtitle integration process:
- Keep scenes as static as possible during dialogues. This makes it easier to follow along with the subtitles.
- Avoid having too much text or graphics at the bottom of the screen where subtitles usually appear.
- Maintain a slightly slower pace of dialogue. This gives viewers enough time to read the subtitles without feeling rushed.
By adhering to these tips, you can lay a solid groundwork for your subtitling process, ensuring that your end results are as high quality as possible.
Getting Started with Amberscript’s Subtitle Editor
Step 1: Creating an Account and Uploading Your Video
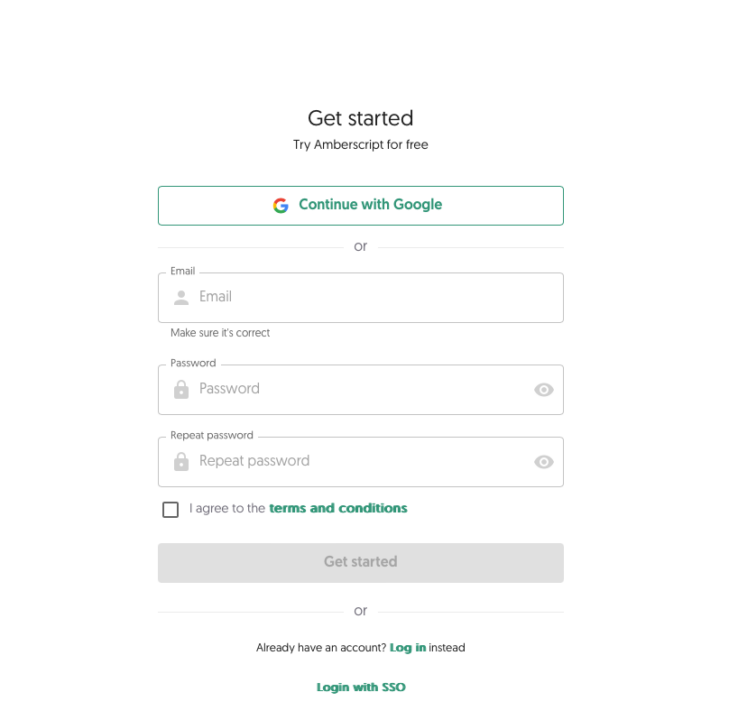
Creating an account on Amberscript’s platform is a straightforward process. Navigate to Amberscript’s website, and click on the “Sign Up” button, located in the top right corner of the homepage. Fill out the registration form by providing necessary details like your name, email address, and a secure password, or alternatively, you can sign up using your Google or Facebook account. After registering, you’ll be redirected to your dashboard.
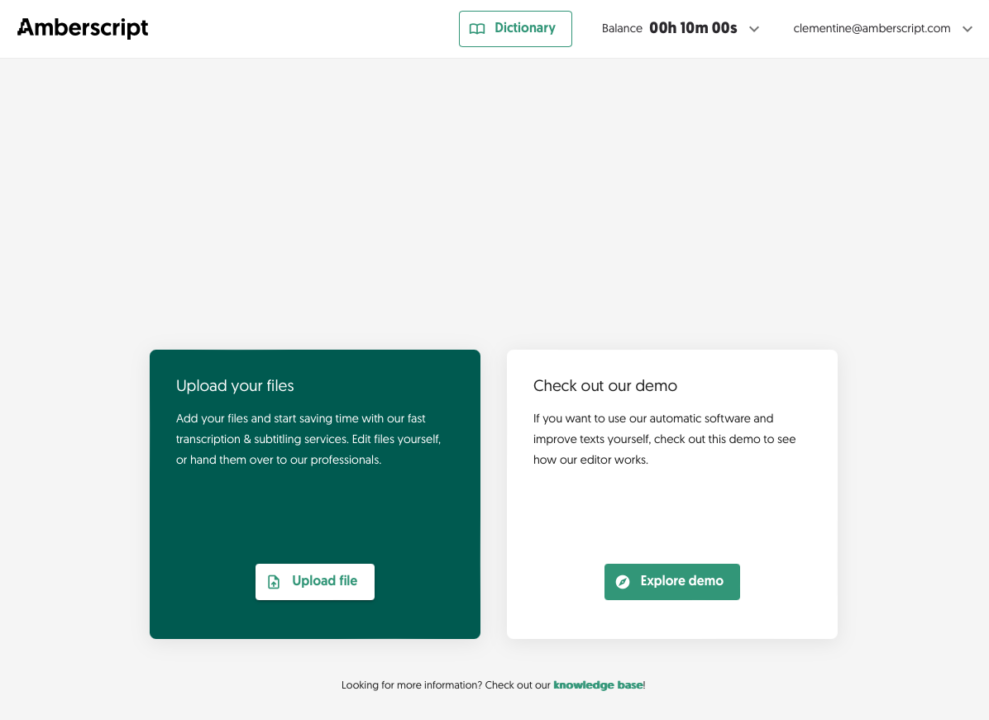
To upload your video file, click on the “Upload New” button on the dashboard. Navigate to the location of your video file on your computer, select it, and click “Open.” The uploading process begins immediately, and progress is shown on the screen. Please note that depending on the size of the video file and your internet connection speed, this process can take a few minutes.
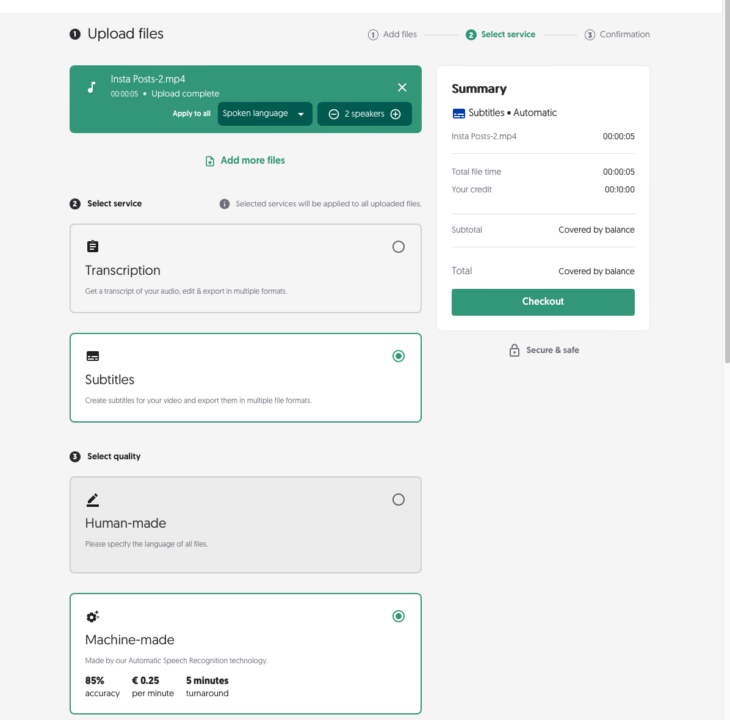
Step 2: Choosing Your Language and Subtitle Format
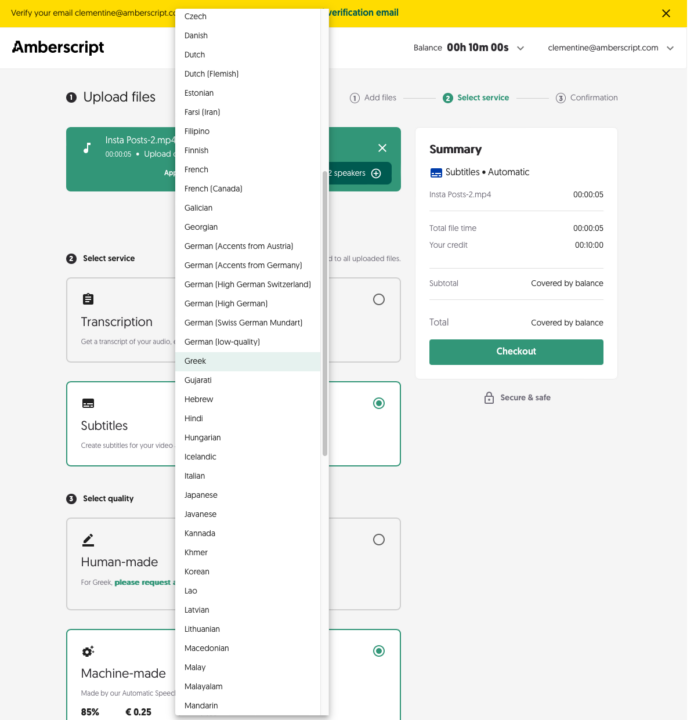
Once your video file has been uploaded to Amberscript’s platform, you can choose the language for your subtitles. Click on the “Language” dropdown and select from the wide array of languages available. This flexibility makes Amberscript a versatile tool for reaching a global audience.
Selecting the subtitle format is equally important. Amberscript supports various subtitle formats, including SRT and VTT, among others. The choice of subtitle format largely depends on the platform where your video will be published. For instance, SRT is the go-to format for platforms like YouTube and Facebook, while VTT is the preferred format for HTML5 videos. To select the subtitle format, navigate to the “Settings” section and select the desired format from the “Subtitle Format” dropdown.
By following these steps, you set the stage for a seamless subtitling experience with Amberscript’s subtitle editor.
Using the Subtitle Editor: A Step-by-Step Guide
Step 3: Automatic Transcription and Initial Subtitle Generation
Amberscript operates using cutting edge AI-powered technology to automatically transcribe your video content. Once your video is uploaded, the system promptly processes the audio, converting spoken words into written text. This is the initial subtitle generation phase. While Amberscript’s AI is highly accurate, it’s worth noting that perfection in transcription varies based on factors like audio quality and clarity of speech. Therefore, an initial review and editing of the generated subtitles are recommended.
Step 4: Editing and Fine-Tuning Your Subtitles
After the transcription is complete, you can start fine-tuning your subtitles. Amberscript’s user-friendly subtitle editor interface allows you to review the automatically generated text and make necessary modifications. Tips for editing include:
- Clarity: Ensure that the subtitles accurately represent the spoken words in the video.
- Timing: Adjust the timing of subtitles to align perfectly with the spoken dialogue.
- Reading Ease: Remember to keep subtitles concise and easy to read. Ideally, limit each subtitle to two lines of text.
By carefully reviewing and editing your subtitles, you can ensure they accurately convey the video’s content and are easy for your audience to follow.
Step 5: Customizing Subtitle Appearance
Amberscript offers a variety of customization options for your subtitles. You can adjust the font, color, and size to fit your video style and brand identity. Here are some best practices for customizing subtitles:
- Font: Choose a font that is easy to read and complements your video design.
- Color: Use colors that stand out against your video background.
- Size: Ensure the text size is large enough to be easily read on any device.
Keep in mind that the aim is to enhance the viewer experience, so consider testing different options to see what works best on different devices and screen sizes.
By following this step-by-step guide, you can effectively use Amberscript’s subtitle editor to create high-quality, engaging subtitles for your videos.
Finalizing and Exporting Your Subtitles
Step 6: Reviewing and Finalizing Subtitles
Once you have edited and customized your subtitles, it is important to conduct a final review for accuracy and synchronization. Here’s a recommended checklist to guide you:
- Consistency: Are your subtitles consistently styled and formatted throughout the video?
- Synchronization: Are the subtitles appearing at the correct times, matching with the dialogues?
- Spelling and Grammar: Are all words correctly spelled? Is the grammar correct?
- Readability: Is the text easy to read and understand?
Next, consider getting feedback from peers or a test audience. This can uncover issues that you might not have noticed. You could ask them to check if the subtitles match the spoken words, if they are easy to read, and if they appear and disappear at suitable times.
Step 7: Exporting Your Subtitles
After confirming that your subtitles are ready, the final step is exporting them. Amberscript lets you export subtitles in various formats like SRT, VTT, and more. Navigate to the “Export” button, select your preferred format, and then click “Export”.
To integrate the subtitles with your video file, you’ll need to use a video editing software. If you’re using platforms like YouTube, you can upload them separately by clicking the “Upload subtitles” option and selecting your file.
By following these steps, you ensure that your videos are ready to reach a global audience with high-quality subtitles, enhancing viewer experience and accessibility.
Advanced Tips and Tricks

Optimizing Subtitle Readability and Viewer Engagement
Subtitle readability is a crucial aspect that can affect viewer engagement and satisfaction. Here are some advanced tips to optimize it:
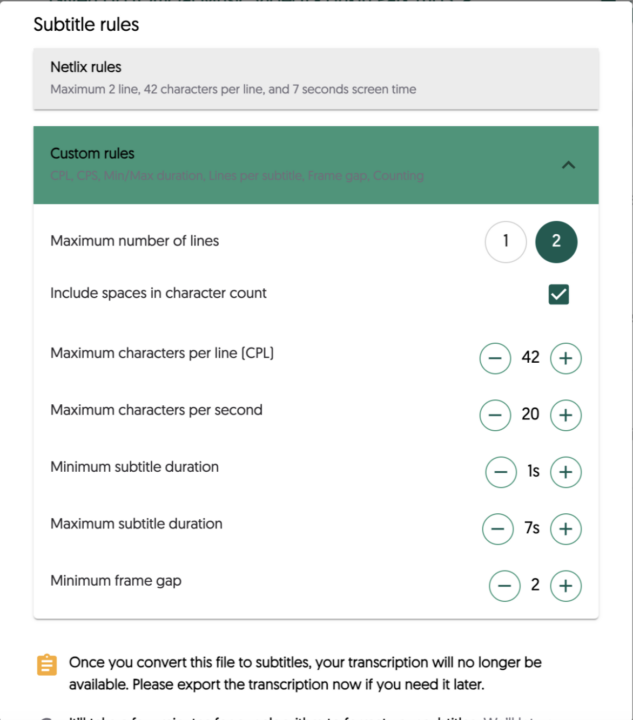
- Line Length: The subtitle line shouldn’t be too long. Aim for a maximum of 32 characters per line.
- Duration: Each subtitle should stay on-screen long enough to be easily read by the viewers. A good rule of thumb is to allow at least 1.5 seconds for each subtitle.
- Positioning: While subtitles are conventionally placed at the bottom, don’t hesitate to move them around if they’re obstructing important elements in the video.
Utilizing Custom Dictionaries for Industry-specific Terminology
Amberscript allows the usage of custom dictionaries, which can be a game-changer when dealing with videos that contain industry-specific jargon. Here’s how you can use this feature effectively:
- Create a Dictionary: List all the specific terms used in your video content in a separate dictionary.
- Add the Dictionary: Upload this dictionary to Amberscript. The system will recognize these terms while transcribing, thus improving the accuracy of the transcription and subtitles.
Translating Subtitles for Multilingual Audiences
Expanding your content to a multilingual audience increases your viewership and reach. Here are some insights to help you in this process:
- Use Professional Translation Services: While Amberscript does offer automatic translation, for more accurate results, consider using professional translation services for your subtitles.
- Context is Key: During translation, ensure that the essence and context of the content is retained.
- Test Your Subtitles: Always test your translated subtitles with a native speaker to ensure accuracy and appropriateness.
By adopting these advanced tips and tricks, you can elevate the quality of your subtitles, subsequently enhancing the viewer experience and expanding your audience reach.