Transcription
How to convert cassette to digital file
11 Jun 2021
7 minute read
The world today is going digital, and it is doing so for a lot of good reasons. Digital files can be kept safe for as long as you need them. The condition or the quality does not reduce over time. In contrast, analog files tend to lose their quality over time. This could happen as a result of decay or accident. It makes it really hard to hold on to them.
However, there is good news for all. You can now convert your old cassette to digital recordings. Most precious old cassettes are filled with memories that the owner wants to keep alive. An old song? The recordings of an event? An old interview? All this can be converted to digital and preserved for a lifetime.
How to Convert Cassette to Digital?
There is more than one way to convert cassette to digital. Each approach has different methods and steps. We would discuss each method, highlighting the steps involved as well as the pros and cons.
Using a cassette to digital converter
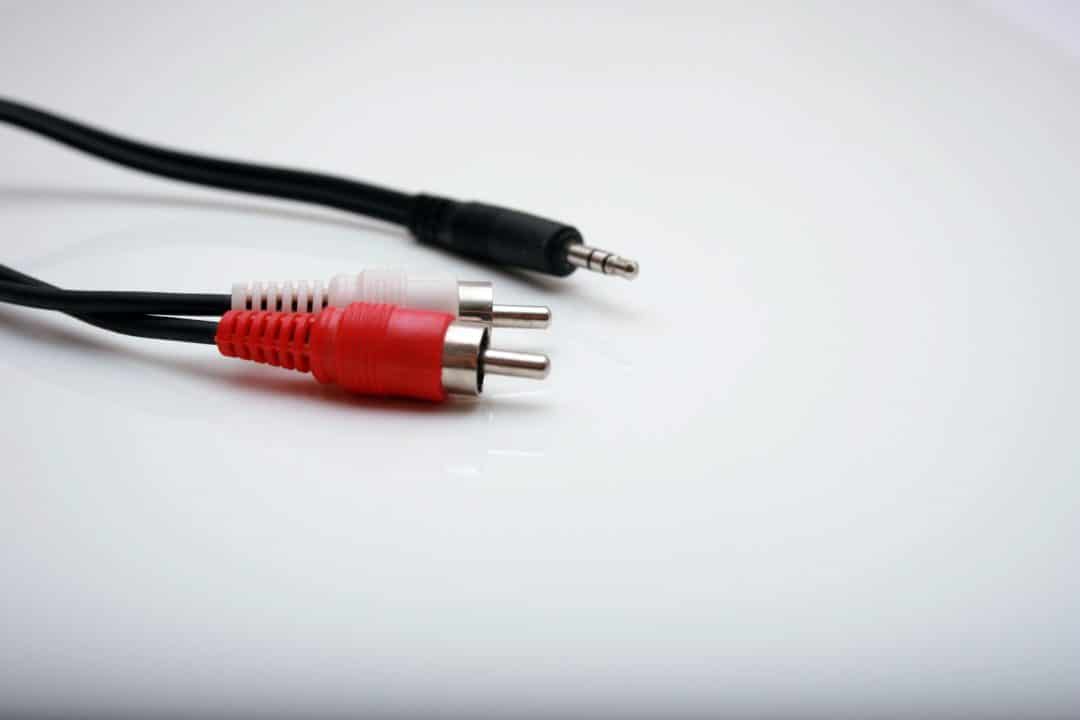
The first method is one of the simplest approaches, and this is the use of cassette tape or cassette to digital converter. If you are using a cassette tape, make sure it is in good condition. The tape would serve as a cassette to digital converter in this regard. If you don’t have a cassette tape, you should get a portable cassette to digital converter. After securing the tape or the converter, you need a desktop or laptop computer next. You do not need much expertise, so there is no need to worry. All that is left is to get a cable with a 3.5mm minijack and two RCA phono outputs on one end and a USB connector on the other end. Desktops have the two RCA phono outputs colored red and white, while laptops only have the 3.5mm minijack. Next are the steps involved.
What you need
- A cassette to digital converter or alternatively a cassette tape.
- A desktop or laptop computer
- USB connector with 3.5mm minijack and optionally two RCA phono outputs.
- Accompanying software.
Steps Involved
- Connect the cassette tape and the desktop or laptop computer using the cord.
- Install the accompanying software from the cassette tape. The software is always provided in the form of a small disk. Insert into the computer disk drive and install. If the laptop does not have a disk drive or the cassette tape does not have accompanying software, you can download online software that works perfectly. Examples of such include Audacity.
- After installation, insert the cassette into the tape and play the audio. The recording is converted to digital simultaneously.
- After the recording is completed, the software creates a digital file that allows you to edit the sound of the audio as you wish.
- Save the file, and you are good to go. If you wish to convert to MP3, choose MP3 in the save dialog.
Advantages
- It is the cheapest method.
- You don’t need much expertise to operate.
Disadvantages
- It is time-consuming
- You might encounter problems depending on the quality of the cassette.
Using a tape deck for digitization
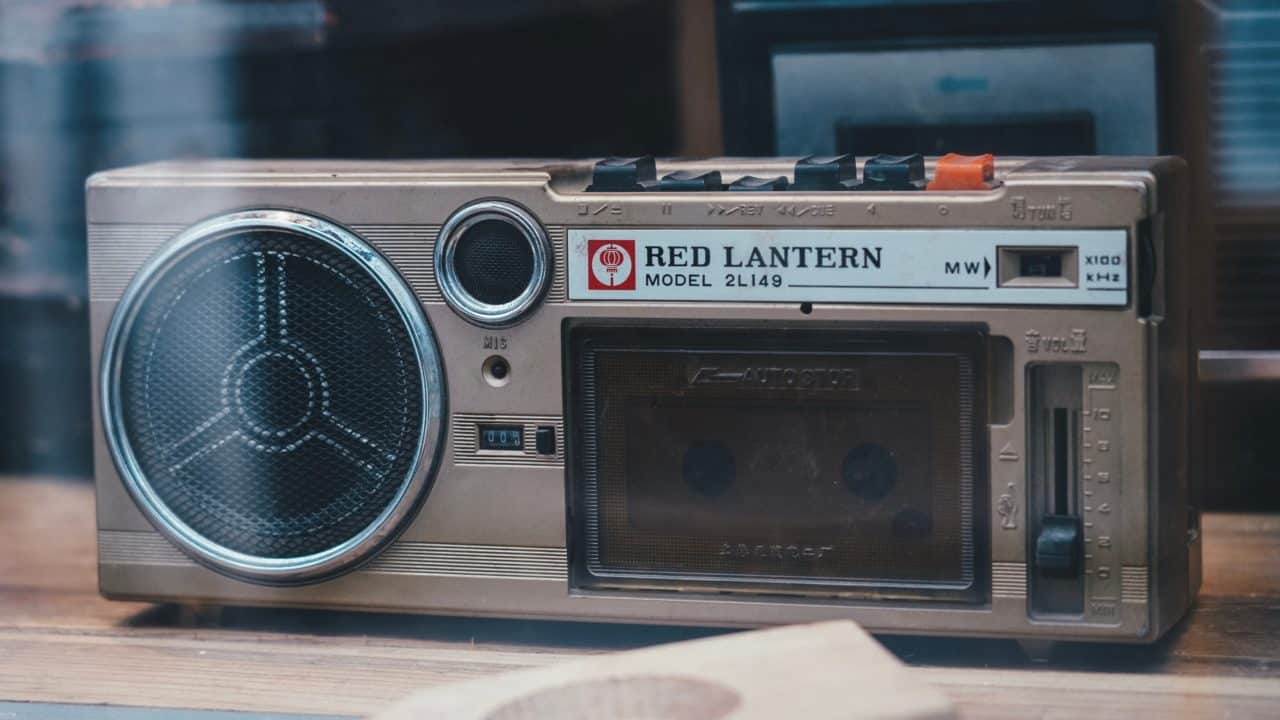
The second approach is the use of a tape deck. This is a better way if you want to convert cassette to digital. It is best when one has a lot of cassettes to digitize to the best quality available. You can get a new tape deck or a used one depending on your choice and budget. If you have one at home in good condition, it will do the trick. Tape decks are different, and they often have different types of output. The type of output would determine the type of cord used for the digitization. The many options include:
- 3.5mm microphone input: There are two types – the RCA to 3.5mm cable and the male-to-male 3.5mm cable. The first one is used if the deck does not have a 3.5mm audio output jack.
- ¼ inch to 3.5mm cord: This is used if the deck has a ¼-inch headphone jack. If the deck has two separate ¼ jacks, you should buy a stereo version of the cord.

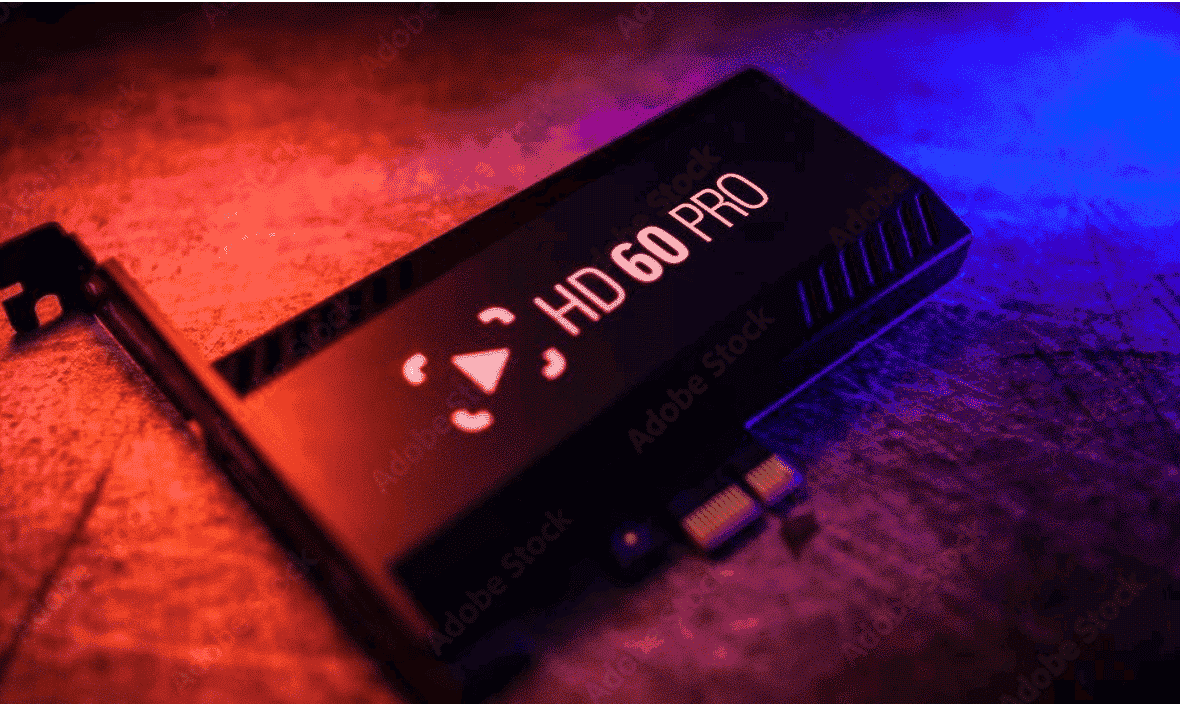
- Capture card: Get a capture card if the laptop does not have a microphone output. The capture card allows you to add a microphone function to the laptop using a USB drive.
Now that you have the right cord, the next step involves installing the software needed. Some software can use the deck as a cassette to digital converter. One popular software is Audacity. Once you have Audacity installed on your computer, you have what you need to proceed. The installation process is straightforward. Now we take you through the steps involved.
What you need
- A tape deck.
- Laptop or desktop computer.
- A cassette to digital converter software.
- The appropriate type of cord for connection.
Steps Involved
- Connect the deck to a laptop or PC using the appropriate cord.
- Open Audacity, choose Audio input. Audio input can be found on the menu beside the microphone icon on the software.
- Play the audio cassette to test for volume. Use the knob on the deck to adjust the volume. Alternatively, you can use the equalizer on the software to adjust the volume. Make sure the soundbar is all green. A little yellow is ok, but a red bar shows that the volume is too high, distorting the recording.
- Once the volume is good, rewind the cassette to the beginning and start recording. Record the whole cassette without pausing. When the first is done, keep the recording on while you switch to the other side. This is safer to maintain the quality of the recording.
- You can divide the recording into different files if you have more than one file on the cassette. Do this by pressing F1. This turns on the selection tool. You would see where each song or recording stops. It would be an empty space between the sounds.
- Select each portion. You hold down the CTRL or Command key, click on the mouse and drag it over the part you want to select. The portion selected should be saved as a separate audio file. Repeat the process for each file.
- You can save the file using different formats. For simple recordings and personal use, it is best to use MP3. That way, you have converted the cassette to MP3.
Advantages
- Produce high-quality sounds.
- You will encounter fewer issues with this.
Disadvantages
- The process is long and time-consuming
- Requires a certain level of expertise.
Now that we have the audio file, there are many options available to you to convert the audio file. If the audio file is an old interview, as mentioned earlier, the next step would be transcribing the audio file to text. If the audio file is an old endearing song, you will want to get the lyrics or the subtitles of the song.
The two options above are very easy to achieve. You can use many methods, but the easiest and fastest is using an AI software that automatically transcribes audio to text or adds subtitles to the file. One online software that many experts recommend for this process is Amberscript.

Transform your audio and
video to text and subtitles
- High accurate, on demand service
- Competitive pricing with the fastest turnaround using AI
- Upload, search edit and export with ease.
How to Transcribe the Audio to Text
Transcribing audio to text is an easy process on this website. We would take you through the steps involved.
Steps Involved
- Visit the site and upload the audio file.
- Once the file is uploaded, the speech recognition engine creates the first draft from the audio. This process is done in minutes.
- The text is connected to the audio in the online text editor. The online text editor allows you to check the file and edit as you wish. You can customize each speaker’s part by giving it a different color or font. You can also adjust the timestamps.
- Export the transcript. This can be done using a different format, including Word, JSON, Text, and many others.
If you wish to add the text to the file as a subtitle, select SRT when you want to save the text. Add the subtitle to the digital file on your computer, and you are good to go.
Note
You might worry about security depending on the type of file you wish to upload. Your file, once uploaded, is processed through a secure network that keeps your file secure and confidential.
Why should you use Amberscript?
There are many reasons why Amberscript is the go-to option when you want to transcribe your audio files.
- Unlike the digitization process, the transcription process is much easier and faster. You get your text in minutes.
- The audio-to-text speech engine is very accurate, and it gives you the best result.
- You can also edit the text to your satisfaction, giving an all-around experience.
The process of cassette digitization might be time-consuming, but it is worth the effort if one wants to preserve the recordings and the memories involved. With two different approaches, you have the option of choosing. This article gives you the opportunity to make an informed choice. Cassette to digital converter tape is one, and the tape deck is another. After digitization, transcription is a much easier and straightforward process. With Amberscript, the process is simple and cheap. Try it out, and you will be happy to have done that.